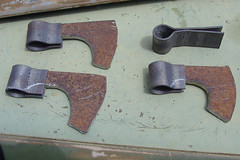
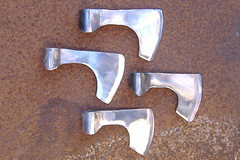
This was a relatively quick project - four axe heads in a day! We whipped these up pretty quickly and they look great. They were made using only a grinder, a welder and a bench vise. This breakdown is for all four of the axes without their handles.
Difficulty: Easy
Total Time: 10 hours
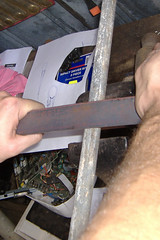
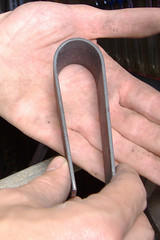
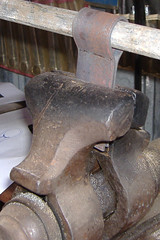
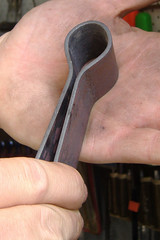
We started my cutting a metal strip into lengths and bending them into the shape for the back of the axe head. This was done using nothing but brute strength and a bench vise with a metal bar about the same diameter as the destined handle. You can see the progess in the photo above.
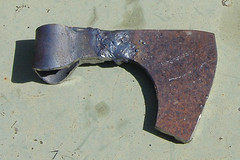
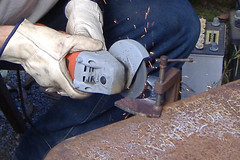
The rest of the axe head was cut out of metal to the basic shape we required. They were cut with an angle grinder and each one is slightly different. The back and blade were positioned together ready for welding after the back was cut down to remove the excess from the bending process. You can see from the photo how the welding is built up in the centre in order to properly bond the two pieces together.
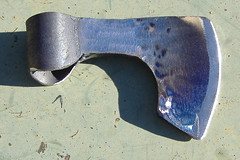
After welding the angle grinder was used to remove any excess and the axe head really started taking shape. Although the axes are built to the combat standards of the NVG it is still aesthetically pleasing to be able to see where the blade is and this was ground into the axe head. Other imperfections were ground out as well leaving a shined finish. If weld lines began to show through these were re-welded and ground again to ensure durability.
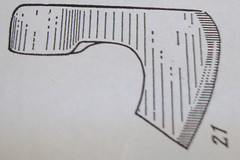
Above, the left photo shows the process around halfway through just after welding was finished. The other photo shows our source image which is from a book called Russian Archaeological Finds (one of a set of three that are full of line art images), which gave us a guide for the shape and size of these axe heads.
Friday, December 16, 2005
Subscribe to:
Comments (Atom)

