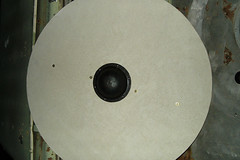
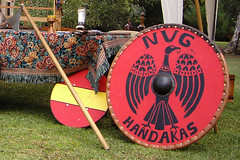
This centre-grip war shield was tried in battle, found to be a little heavy and transformed into a sign for our club. The principles and materials in making this sort of shield are the same no matter the size.
Difficulty: Medium
Total Time: 10 hours
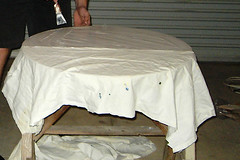
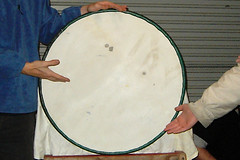
Take your circle of wood and affix an old sheet to one side using PVA glue. While this is drying take a length of hose and cut a slit along the length of it. When the glue is dry cut the excess sheet away and then work the hose around the circumference of the shield. This is hidden by leather in one of the next steps and gives the shield a longer lifetime.
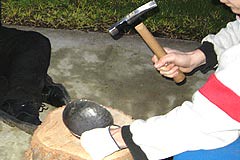
Usually a centre grip shield requires a boss in the centre. This is easy to make with the right equipment. We used a wooden stump which has a dish in the centre - a depression or hollow that is used for forming the shape into metal. You can use a sander to create a hollow in your stump which is usually around 4-5 inches in diameter and about an inch deep. We used a ball pein hammer which was modified by my partner for the task. Hammer's should be kept highly polished because any flaw in the hammer is transferred to the metal surface every time the hammer strikes.
Working in spiral courses, start from the outside and work inwards. Space the blows as evenly as possible to prevent malforming and stress on the metal. Each hammer stroke should overlap slightly with those around it. There are many good books you can get for more information on metalwork and armour making.
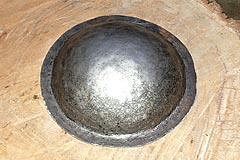
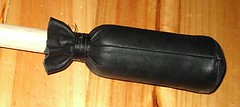
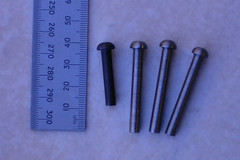
With all the pieces now ready, we cur a circular hole to fit the boss into the shield. The handle is a shaft of wood with notches cut in either end so that it sits flush against the shield into the inside of the hole. This was riveted first, then the boss was also attached with rivets. If you have a rivet former it is even easier to crete and maintain the nice curved finish of a rivet.
The shield was initially painted red and then the protective layer of leather was riveted around the outside. Later the black artwork was added and this particular shield is now used as our sign at events.
